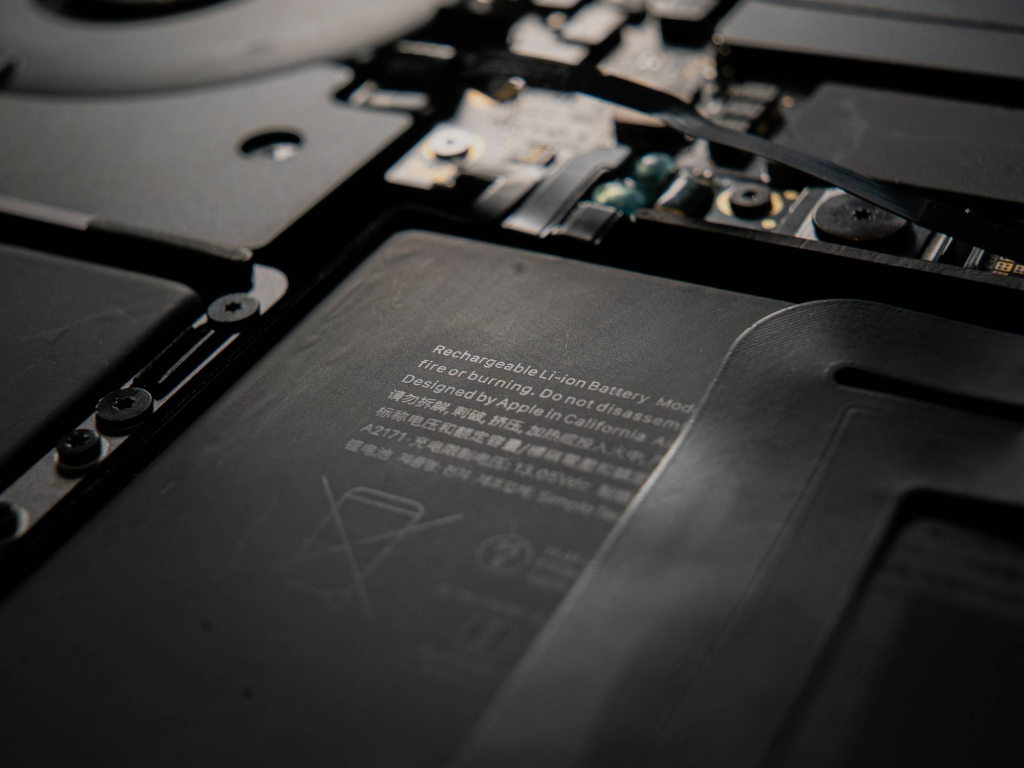
A degraded MacBook battery not only reduces runtime but can cause slowdowns or unexpected shutdowns. Whether you're doing a DIY replacement or opting for Apple or a certified repair provider, following proper steps helps ensure safety and a successful swap.
Below is an approachable guide to safely do it yourself—or know when to go to a professional.
Apple or Certified Service
DIY via Trusted Guides
Retina MacBooks often require P5 (TS4) pentalobe bits for bottom case screws, and tri‑wing or special bits to remove glued‑in battery cells .

External hard drives are essential for storage and backups, but sometimes your Macbook may not recognize them. This guide outlines the most common causes and provides practical solutions to help you get your drive working again quickly and safely.
Connection problems
Loose、damaged、or low-quality cables and faulty USB/Thunderbolt ports are among the most common issues. Ensure you use a compatible, high-quality cable and test different ports.
Insufficient power supply
Some external drives—especially larger HDDs—require more current than a single USB port provides. This prevents them from spinning up or being detected. Use a self-powered USB hub or a dual-cable setup if needed.
Finder preferences are misconfigured
By default, macOS may not show external disks. If “External disks” isn’t checked in Finder Preferences under both “General” and “Sidebar,” your drive may be connected but invisible.
Incompatible file system or corrupted format
Drives formatted in NTFS may be readable but not writable. Corrupted formats like damaged FAT/exFAT partitions could also prevent detection.
Logical or hardware disk damage
Physical failure (e.g., clicking noises) or partition corruption can stop macOS from mounting the drive.
macOS-related issues
System glitches involving NVRAM, SMC, or outdated drivers may interrupt USB/Thunderbolt detection. macOS updates or third-party software (like antivirus) may interfere.
>>>Battery replaces A1953 for Apple MacBook Pro 15" A1990 (Mid 2018) - Li-ion 83.6Wh/7336mAh
diskutil list to see if your Mac detects the drive. If so, you can mount it manually using:diskutil mount /dev/diskXdiskX with the actual disk identifier.)If none of these steps work, the drive may suffer from serious hardware failure. Seek help from a data recovery service or consider replacing the drive.
>>>Battery replaces A2389 for Apple MacBook Air 13 inch (2020 Version) - Li-ion 4380mAh
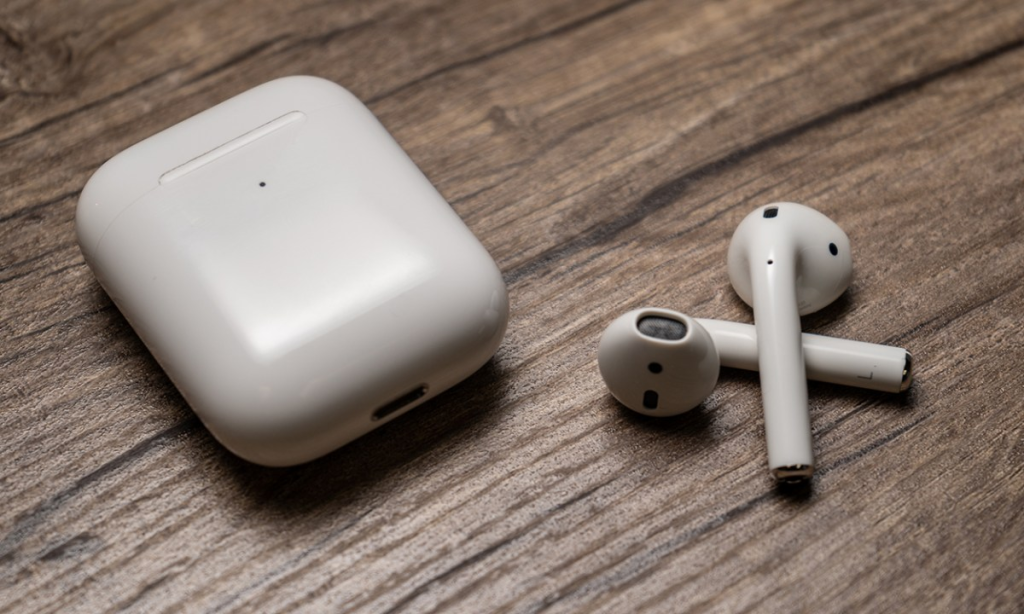
Apple's upcoming iOS 26 update introduces several new features for AirPods. These features are currently available in the developer beta, which includes functionality enhancements focused on audio control, camera integration, and call quality.
You can install the latest iOS 26 beta and gain access to the new AirPods features today. However, keep in mind that this is beta software intended for developers, so it may contain bugs and unexpected issues. If something goes wrong, you won’t be able to downgrade your OS version on your own — you'll need to visit an Apple Store for assistance.
Pause Audio for Sleep: AirPods can detect when the user falls asleep and automatically pause audio.
Camera Remote: AirPods can now serve as a remote for the iPhone or iPad Camera app. Press and hold the stem to take a photo or start video recording.
Keep Audio in Headphones: Audio will remain in the AirPods when the iPhone connects to other playback devices like cars or speakers.
Improved Call Quality: AirPods 4 and AirPods Pro 2, powered by the H2 chip, now offer enhanced vocal clarity and texture in phone calls, FaceTime, and supported apps like Zoom.
1. Install iOS 26 Beta
To use these features, your device must be running iOS 26 beta or iPadOS 26 beta. Developer betas are available now, and a public beta is expected later in July. Non-developers can also download the beta for free, though installing it on a primary device is not recommended due to stability risks.
2. Install AirPods Beta Firmware
Once your device is on the beta OS:
The firmware will install automatically when the AirPods are in their charging case and near the paired device. The process may take several minutes.
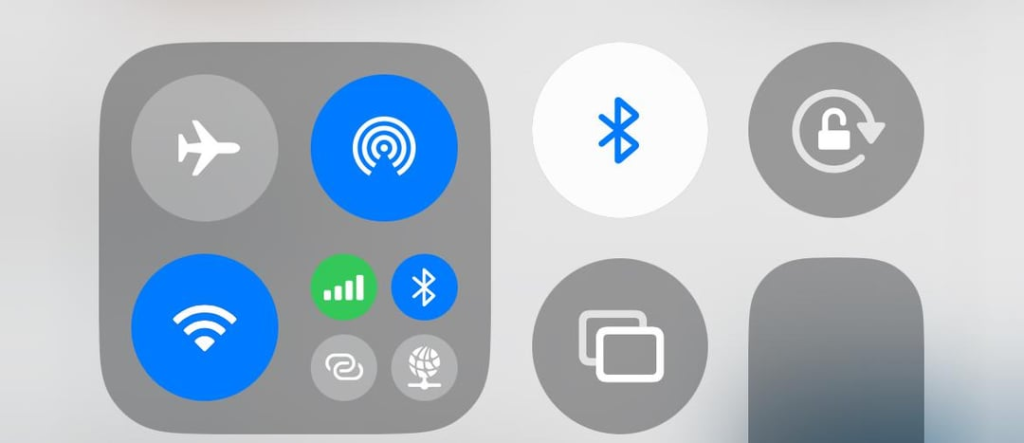
iOS 26 and iPadOS 26 introduce a new feature that syncs sign-in details for captive Wi-Fi networks across iPhones and iPads.
As noted by Creative Strategies analyst Max Weinbach, when connecting to a captive network, such as those commonly found in hotels, gyms, coffee shops, airports, and other public places, login details entered on one device now sync to others running iOS 26 or iPadOS 26. For example, after connecting an iPad to a hotel's network, an iPhone prompts to reuse those details.
A captive Wi-Fi network requires users to complete a web form or login page before gaining internet access. This new feature pre-fills those forms across devices, streamlining the process. However, users still need to manually complete the captive portal process on each device.
Bloomberg's Mark Gurman first reported that Apple was planning this feature, which was not mentioned during the WWDC 2025 keynote. Weinbach's experience suggests it is working in the second iOS 26 developer beta.
The feature is also expected to extend to macOS 26. iOS 26 is expected to be released publicly in September, bringing this functionality to all supported devices.
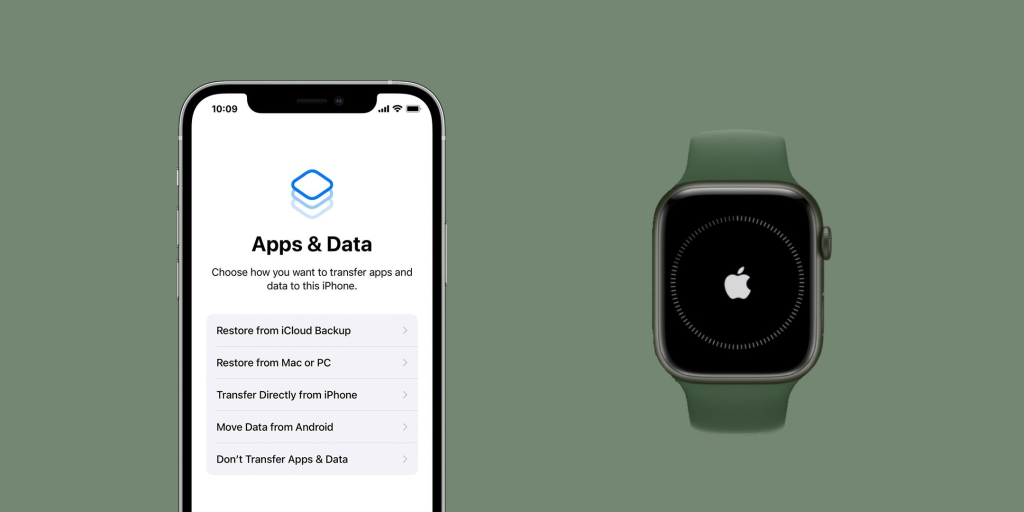
The Apple Watch is more than just a stylish accessory — it’s a powerful tool that keeps you connected, tracks your fitness, and helps you stay organized throughout the day. However, to unlock its full potential, you must first pair your Apple Watch with your iPhone. Whether you're setting up a brand-new Apple Watch or reconnecting after a reset, the process is straightforward. This article will walk you through the essential steps to successfully pair your Apple Watch with your iPhone.
Before you start, make sure your devices meet the necessary requirements:
Once both devices are ready, follow these steps:
The simplest way to pair is by using your iPhone’s camera:
If you prefer or if the camera method doesn’t work, you can choose Pair Manually by tapping the small “i” icon on the Watch and entering the six-digit code displayed.
After pairing, you will be guided through several setup options:
You will also have the opportunity to configure additional settings, such as:
The final step is syncing your Apple Watch with your iPhone. This process can take a few minutes, depending on how much data you have.
Once syncing is complete:
If you encounter problems during pairing: