The Apple Watch is more than just a stylish accessory — it’s a powerful tool that keeps you connected, tracks your fitness, and helps you stay organized throughout the day. However, to unlock its full potential, you must first pair your Apple Watch with your iPhone. Whether you're setting up a brand-new Apple Watch or reconnecting after a reset, the process is straightforward. This article will walk you through the essential steps to successfully pair your Apple Watch with your iPhone.
Step 1: Check Compatibility and Prepare
Before you start, make sure your devices meet the necessary requirements:
- Your iPhone must be compatible with your Apple Watch. Generally, this means an iPhone XS or later running the latest version of iOS (currently iOS 18 or newer for watchOS 11).
- Ensure that Bluetooth is turned on and your iPhone is connected to Wi-Fi or a cellular network.
- Your Apple Watch should be charged to at least 50% and turned on by pressing and holding the side button until you see the Apple logo.
Step 2: Start the Pairing Process
Once both devices are ready, follow these steps:
- Bring your iPhone close to your Apple Watch. A screen should automatically pop up on your iPhone prompting you to begin pairing.
- Tap Continue, or open the Apple Watch app on your iPhone and tap Pair New Watch.
- Select Set Up for Myself if the watch is for you, or Set Up for a Family Member if applicable.
Step 3: Use the Camera for Easy Pairing
The simplest way to pair is by using your iPhone’s camera:
- Hold your Apple Watch up so that the colorful animation on its screen appears in the viewfinder on your iPhone.
- Wait a few seconds. Once the watch is recognized, you will receive confirmation that the devices are paired.
If you prefer or if the camera method doesn’t work, you can choose Pair Manually by tapping the small “i” icon on the Watch and entering the six-digit code displayed.
Step 4: Customize Your Settings
After pairing, you will be guided through several setup options:
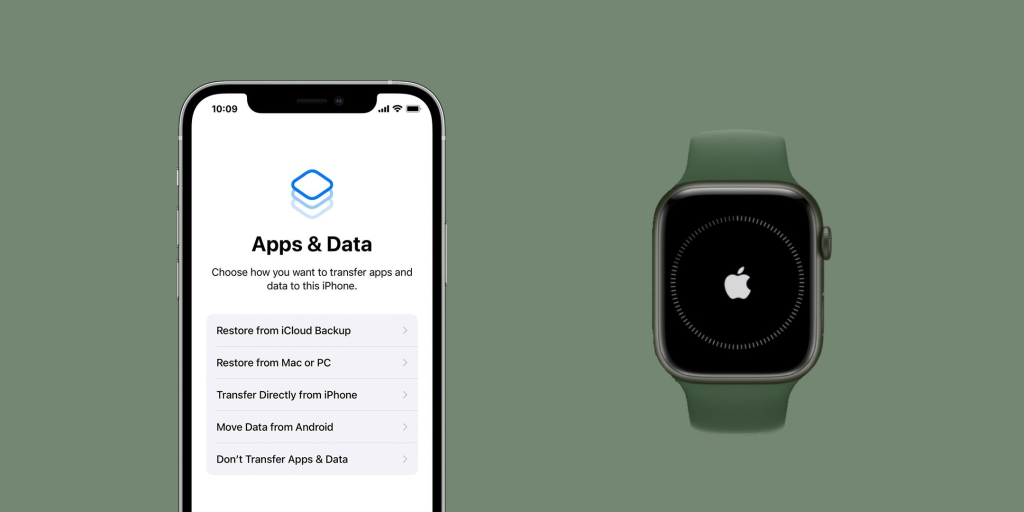
- Choose to set up as new or restore from backup if you’ve used an Apple Watch before.
- Sign in with your Apple ID. This activates features like iCloud and Find My.
- Select your wrist preference and agree to the terms and conditions.
- Set a passcode for your Apple Watch. This is optional but recommended, especially if you plan to use Apple Pay.
You will also have the opportunity to configure additional settings, such as:
- Health and fitness data
- Activity tracking
- Emergency features like Fall Detection
- Siri preferences
- App layout and appearance
Step 5: Sync and Finalize Setup
The final step is syncing your Apple Watch with your iPhone. This process can take a few minutes, depending on how much data you have.
Once syncing is complete:
- You’ll see the default watch face on your Apple Watch.
- A welcome message appears on your iPhone, allowing you to explore tips and features.
- Your apps, settings, and notifications will be transferred and ready to use.
Step 6: Troubleshooting Tips
If you encounter problems during pairing:
- Ensure both devices are close together.
- Check that your iPhone's software is up to date.
- Restart both your iPhone and Apple Watch.
- If pairing fails repeatedly, unpair the devices by going to the Apple Watch app: My Watch > All Watches > info button > Unpair Apple Watch, then try pairing again.
- If your Watch was previously paired with another Apple ID, Activation Lock may prevent setup. In that case, you’ll need the previous owner's Apple ID password to proceed.