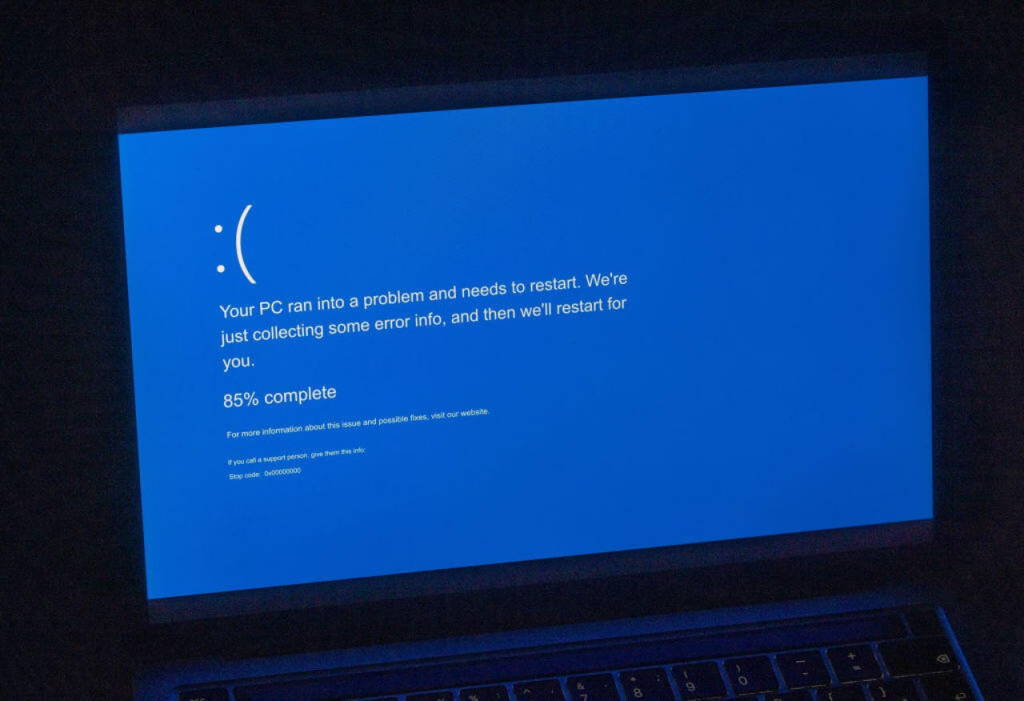
If Your Computer Won't Start: Diagnosing and Resolving the Issue

Experiencing a computer that refuses to start can be both frustrating and perplexing. Whether your system powers on without display, displays a black screen, or doesn't respond at all, understanding the underlying causes and knowing how to troubleshoot effectively can help you get back on track.
1: Check Power Connections
1.1 Verify Power Source
- Ensure the power outlet is functional by testing it with another device.
- If using a power strip or surge protector, confirm it's turned on and operational.
1.2 Inspect Power Cables and Adapter
- Check for any visible damage to the power cable or adapter.
- Ensure all connections are secure.
1.3 Test with Alternative Power Sources
- Try a different power outlet or use a known working power cable to rule out faulty hardware.
2: Perform a Power Reset
2.1 Disconnect All External Devices
- Unplug peripherals such as printers, external drives, and USB devices.
2.2 Power Cycle the Computer
- For desktops:
- Turn off the power supply using the switch at the back of the unit.
- Press and hold the power button for 15–30 seconds to discharge residual power.
- Reconnect the power supply and attempt to turn on the computer.
- For laptops:
- Remove the battery (if removable) and unplug the AC adapter.
- Press and hold the power button for 15–30 seconds.
- Reconnect the battery and AC adapter, then try powering on the laptop.
3: Listen for Beep Codes or Observe LED Indicators
3.1 Beep Codes
- If the computer emits a series of beeps upon startup, refer to the motherboard's manual to interpret the beep codes.
3.2 LED Indicators
- Observe any blinking LEDs on the motherboard or power supply unit.
- Consult the motherboard's documentation to decode LED blink patterns, which can indicate specific hardware issues.
4: Check Internal Hardware Connections
4.1 Open the Computer Case
- Ensure the computer is powered off and unplugged before opening the case.
4.2 Inspect Internal Components
- Verify that all internal cables (24-pin motherboard, 4/8-pin CPU, GPU power connectors) are securely connected.
- Check for any loose components or visible signs of damage.
4.3 Reseat Components
- Carefully remove and reinsert components such as RAM and graphics cards to ensure proper seating.
5: Test with Minimal Hardware Configuration
5.1 Isolate Essential Components
- Disconnect all non-essential hardware, leaving only the motherboard, CPU, one stick of RAM, and the power supply connected.
5.2 Attempt to Boot
- Power on the system to check for any display output or error codes.
5.3 Gradually Reconnect Components
- If the system boots successfully with minimal hardware, reconnect components one at a time to identify any faulty parts.
6: Utilize Diagnostic Tools
6.1 Built-in Diagnostics
- Many systems offer built-in diagnostic tools accessible during startup (e.g., pressing F12 for Dell systems).
- Run these diagnostics to check for hardware failures.
6.2 POST Test Cards
- Consider using a POST test card to display error codes related to the motherboard's Power-On Self Test process.
7: Investigate Software or Operating System Issues
7.1 Boot into Safe Mode
- Attempt to boot into Safe Mode to troubleshoot software-related problems.
7.2 Use Windows Recovery Environment (WinRE)
- Access WinRE to perform system repairs, such as Startup Repair or System Restore.
7.3 Reinstall the Operating System
- If software issues persist, consider reinstalling the operating system.
8: Seek Professional Assistance
8.1 When to Consult a Technician
- If the computer shows no signs of power, emits unusual sounds, or if you're uncomfortable performing hardware diagnostics, it's advisable to consult a professional technician.
8.2 Warranty Considerations
- If the system is under warranty, contact the manufacturer for support and potential repairs.
Preventive Measures
- Regular Maintenance: Periodically clean internal components to prevent dust buildup, which can cause overheating.
- Surge Protection: Use surge protectors to safeguard against power surges.
- Backup Data: Regularly back up important data to prevent loss during unforeseen issues.
By systematically following these steps, you can diagnose and potentially resolve issues preventing your computer from starting. Always exercise caution when handling internal components, and seek professional assistance if needed.
